Bring the Beach Home: Tips and Tricks for Beach-Inspired Decorations is a guide to help you bring the beauty of the beach into your home. Whether you live near the beach or far away, you can create a beach-inspired atmosphere in your home with the right decorations. This guide will provide you with tips and tricks to help you create a beach-inspired look in your home. From choosing the right colors and textures to finding the perfect accessories, this guide will help you create a beach-inspired atmosphere in your home. So, if you’re looking to bring the beach into your home, this guide is for you!
How to Create a Beach-Inspired Home: Tips for Incorporating Coastal Decor
Creating a beach-inspired home can be a great way to bring a sense of relaxation and tranquility into your living space. Incorporating coastal decor into your home can be a fun and creative way to bring the beauty of the beach into your home. Here are some tips for incorporating coastal decor into your home:
1. Choose a Color Palette: When selecting colors for your beach-inspired home, opt for a palette of blues, greens, and whites. These colors will help to create a calming atmosphere and evoke the feeling of being at the beach.
2. Incorporate Natural Elements: Incorporating natural elements such as driftwood, shells, and sea glass can help to bring the beach into your home. These elements can be used to create unique pieces of art or to decorate shelves and tables.
3. Use Textiles: Textiles such as cotton, linen, and jute can help to create a beach-inspired atmosphere. Choose fabrics with a nautical theme or in colors that evoke the beach.
4. Add Accessories: Accessories such as starfish, coral, and other beach-inspired items can be used to add a touch of the beach to your home. These items can be used to decorate shelves, tables, and other areas of your home.
5. Incorporate Lighting: Lighting can be used to create a beach-inspired atmosphere. Choose lighting fixtures with a nautical theme or in colors that evoke the beach.
By following these tips, you can easily create a beach-inspired home that will bring a sense of relaxation and tranquility into your living space. Incorporating coastal decor into your home can be a fun and creative way to bring the beauty of the beach into your home.
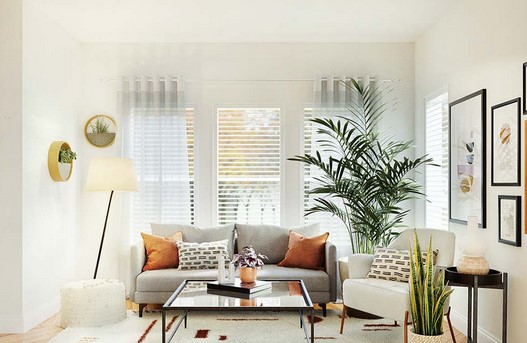
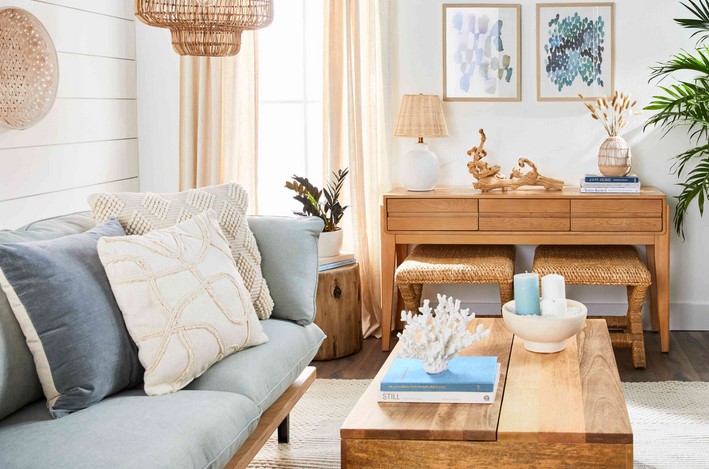
Get the Look: Beach-Inspired Decorating Ideas for Every Room in Your Home
Beach-inspired decorating is a great way to bring a touch of the ocean into your home. Whether you live near the beach or just want to bring a bit of the beach into your home, beach-inspired decorating can be a great way to create a relaxing and inviting atmosphere. From coastal-inspired furniture to beach-inspired wall art, there are plenty of ways to bring a beach-inspired look into every room in your home.
For the living room, start by choosing furniture with a coastal feel. Look for pieces made of natural materials like wicker, rattan, or driftwood. Add a few beach-inspired accents like a jute rug, a woven basket, or a few seashells. Hang a few pieces of beach-inspired wall art, such as a painting of a beach scene or a framed photograph of a beach sunset. Finally, add a few beach-inspired accessories like a starfish-shaped candle holder or a set of coral-colored throw pillows.
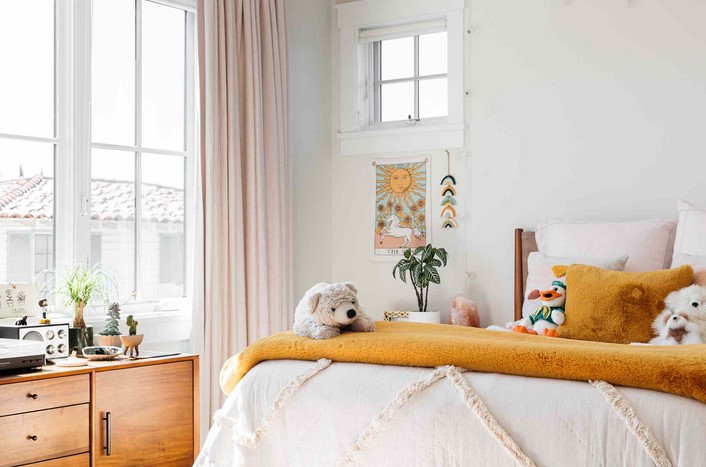
In the bedroom, start by choosing bedding with a beach-inspired pattern or color. Look for bedding with a nautical theme, such as stripes or anchors. Add a few beach-inspired accents like a driftwood headboard or a set of seashell-shaped lamps. Hang a few pieces of beach-inspired wall art, such as a painting of a beach scene or a framed photograph of a beach sunset. Finally, add a few beach-inspired accessories like a starfish-shaped candle holder or a set of coral-colored throw pillows.
In the kitchen, start by choosing cabinets and countertops with a coastal feel. Look for cabinets made of natural materials like wicker, rattan, or driftwood. Add a few beach-inspired accents like a jute rug, a woven basket, or a few seashells. Hang a few pieces of beach-inspired wall art, such as a painting of a beach scene or a framed photograph of a beach sunset. Finally, add a few beach-inspired accessories like a starfish-shaped candle holder or a set of coral-colored dish towels.
In the bathroom, start by choosing fixtures with a coastal feel. Look for fixtures made of natural materials like wicker, rattan, or driftwood. Add a few beach-inspired accents like a jute rug, a woven basket, or a few seashells. Hang a few pieces of beach-inspired wall art, such as a painting of a beach scene or a framed photograph of a beach sunset. Finally, add a few beach-inspired accessories like a starfish-shaped soap dish or a set of coral-colored towels.
By incorporating beach-inspired decor into every room in your home, you can create a relaxing and inviting atmosphere that will make you feel like you’re on vacation all year round. With the right pieces and accents, you can easily create a beach-inspired look that will bring the beauty of the ocean into your home.Bring the Beach Home: Tips and Tricks for Beach-Inspired Decorations is a great resource for anyone looking to bring a bit of the beach into their home. With a few simple tips and tricks, you can easily create a beach-inspired atmosphere in any room. Whether you’re looking for a subtle hint of the beach or a full-on beach-themed room, this guide has something for everyone. With a little creativity and some beach-inspired decorations, you can easily create a beach-inspired atmosphere in your home.